Create a Class Schedule
In this article, learn how to create a class schedule
Applies to: Admins, Managers
Last updated: June 17, 2025
Step-By-By Guide: Create a Class Schedule
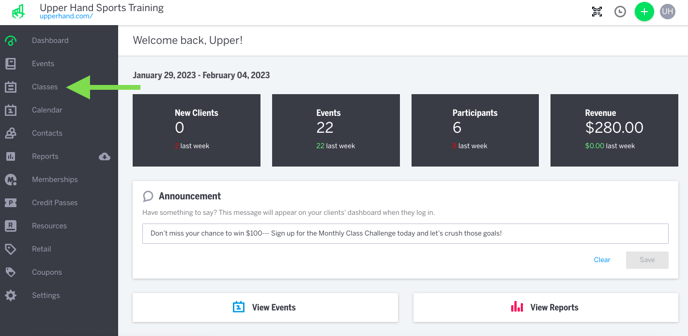
- Log in to your account and hover over the main navigation bar on the left, click Classes

- On the left hand side, locate and click on the Class you want to add a schedule to
- Click Create Sessions
- Under Create Schedule, select a Start Date
- Note: if this class repeats select Repeat
- Select how often it repeats and the days of the week it repeats on
- Note: if it repeats every Monday select repeats every 1 week on Monday
- Select if this class has an End Date
- Note: If this class only runs during this month, then make the end date on last the last day of the month
- Select Start Time and End Time
- Note: If this occurs multiple days a week at different times, toggle Day Specific to set those times
- Select Location

- Click Next
- Enter Class Size
- Note: you will be able to edit this later if necessary
- Select Gender and Age
- Note: Age restrictions will be applied during client registrations
- Set Scheduling Deadline (optional)
- Set Cancellation Deadline (optional)
- Set Scheduling Time Frame (optional)
- Set Waitlist (optional)
- Manual Registration - When selected, clients will be able to opt into waitlist but you as staff/admins will need to manually add them to the class when a spot opens up
- Invite Based Registration - When selected, clients will automatically receive an email invite to join the class

- Click Next
- Assign Staff and Resources
- Note: this can be left blank and added at a later time but the session will not be made active
- Click Create Schedule
