APPLIES TO: Admins
Last updated: February 3, 2023
Contact groups allow you to add clients to groups of your choice and send messages to specific groups.
Create a Contact Group
- After logging into your Upper Hand account, hover over the main navigation bar on the left hand side and click Contacts
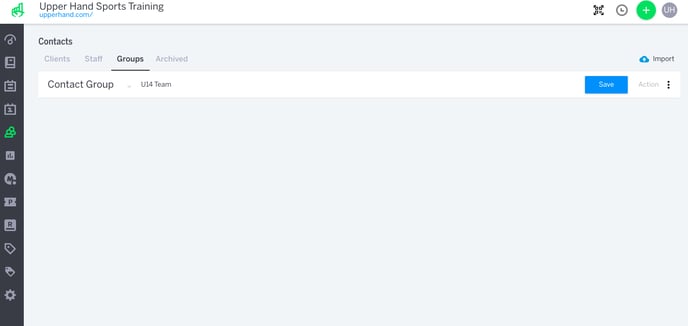
- Navigate to the Groups tab
- Enter a Group Name and click Save
- Click in the space where it says Add Contact and search for the name of the client you want to add to this contact group
- Click the client's name to add them to the group
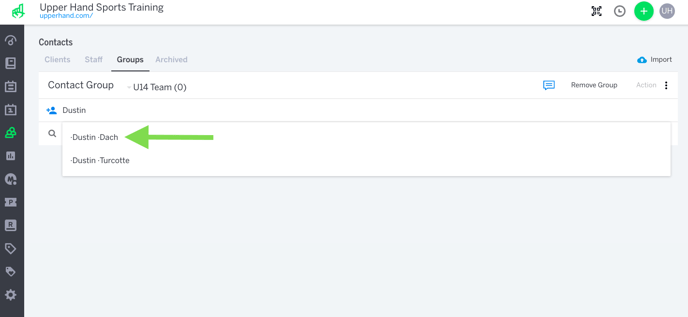
- Repeat this until you've added every client you want in this group