Add Client to a Class
In this article, learn how to add a client to a class.
APPLIES TO: Admin and Staff
Last updated: December 6, 2023
Add Client to a Class
From the Calendar - Step by Step Guide
- Login to your account and hover over the main navigation bar on the left, click Calendar
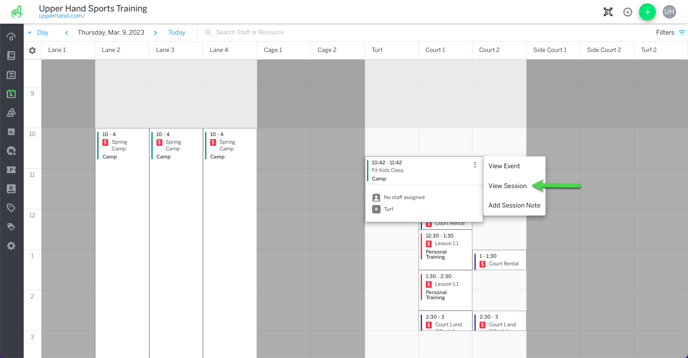
- Find the calendar card of the class session you would like to add the client to
- Click the three dot menu in the top right of the calendar card
- Click View Session
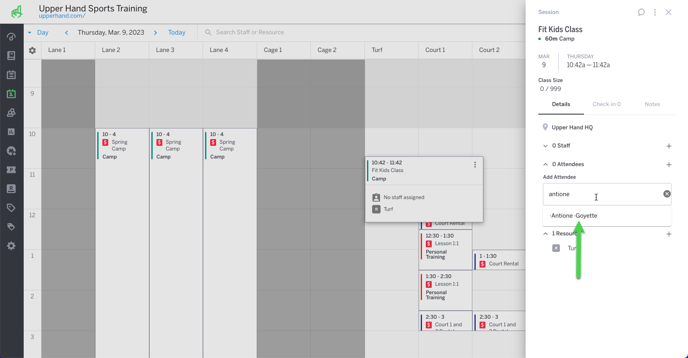
- From the Session Summary Drawer, click on the plus sign to the right of Attendees
- Type in the name of the client you would like to add to the session in the search bar
- Click the Client's name to add them to the class session
Using Point of Sale - Step by Step Guide
- Click the green + sign in the right hand corner
- Select Point of Sale
- Select the client you want to add to a class
- In the search bar, search for the class you want to sign them up for and select the class
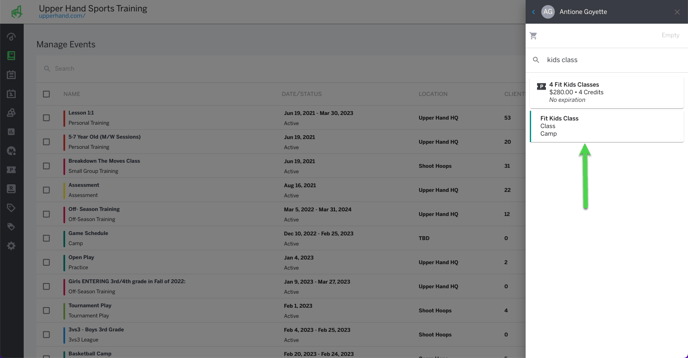
- Select the profile you want to register for the class
- Note: If they have not purchased a credit pass you will have to purchase that before scheduling
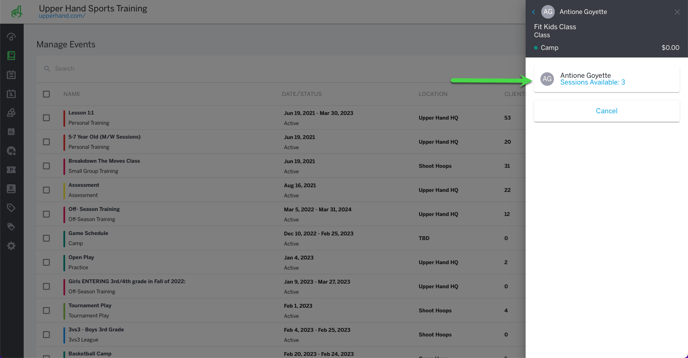
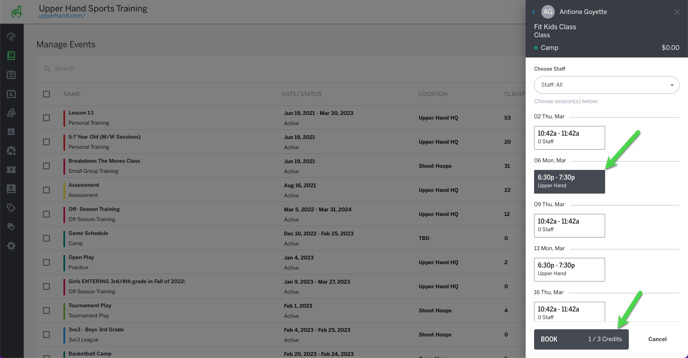
- Select the class date/time you would like to register the client for and click Book
- Note: you can schedule a client for a session up to 7 days in the past
