APPLIES TO: Admins
Last updated: February 9, 2023
You will need to create events with schedules to allow for client registration and scheduling. There are 3 types of event options available to choose from when creating an event in Upper Hand:
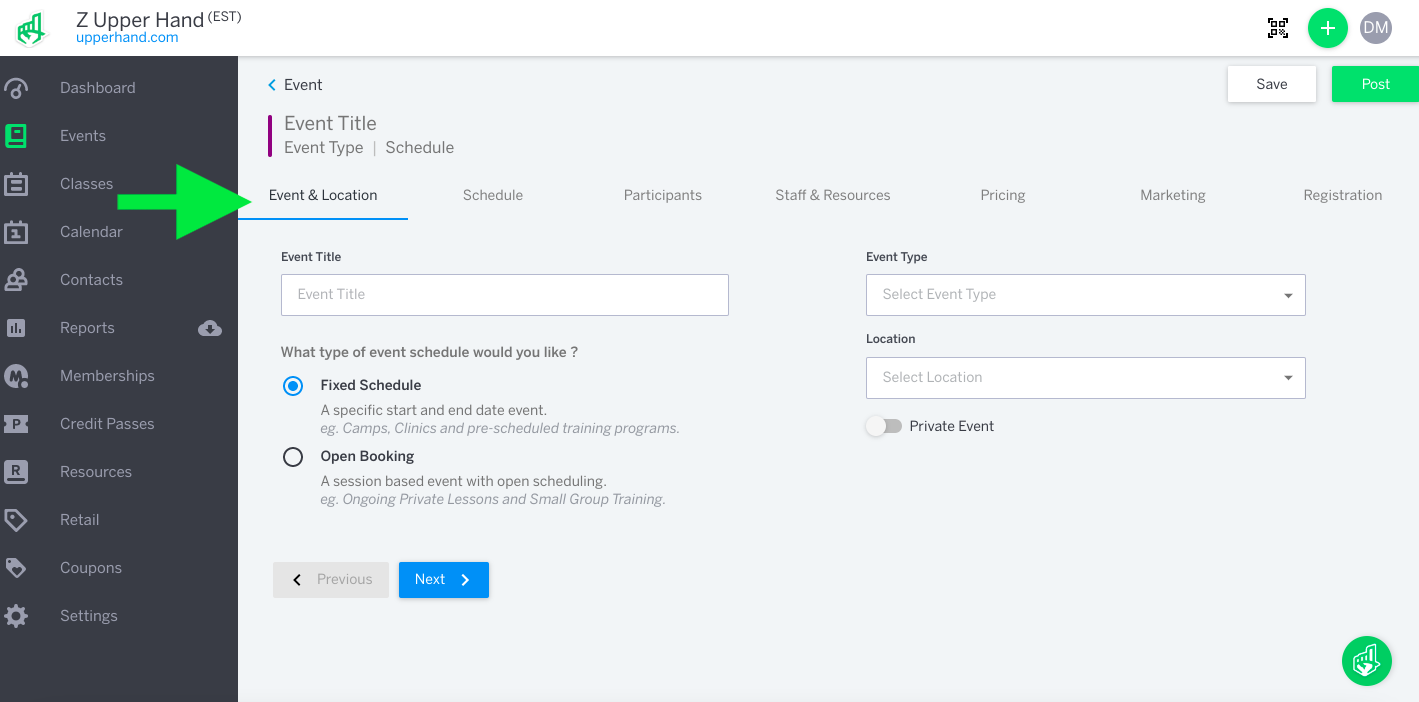
- Fixed Schedule: has a specific start and end date and time. This event type is perfect for camps, clinics, or pre-scheduled training programs.
- Open Booking: open booking events allow your clients to purchase sessions/credits that can be used to buy time to train at your business. This event type is perfect for 1 on 1 lessons, group sessions, flexible training programs, classes, rentals, and drop-in sessions. If you are looking to offer ongoing private lessons or small group training, this will be your go-to event type.
- Class: this event type offers push scheduling and added flexibility. Classes allow you to create an event and add different schedules on the go. This means you can create multiple schedules for different staff members and resources.
Solution Overview:
To Create Events:
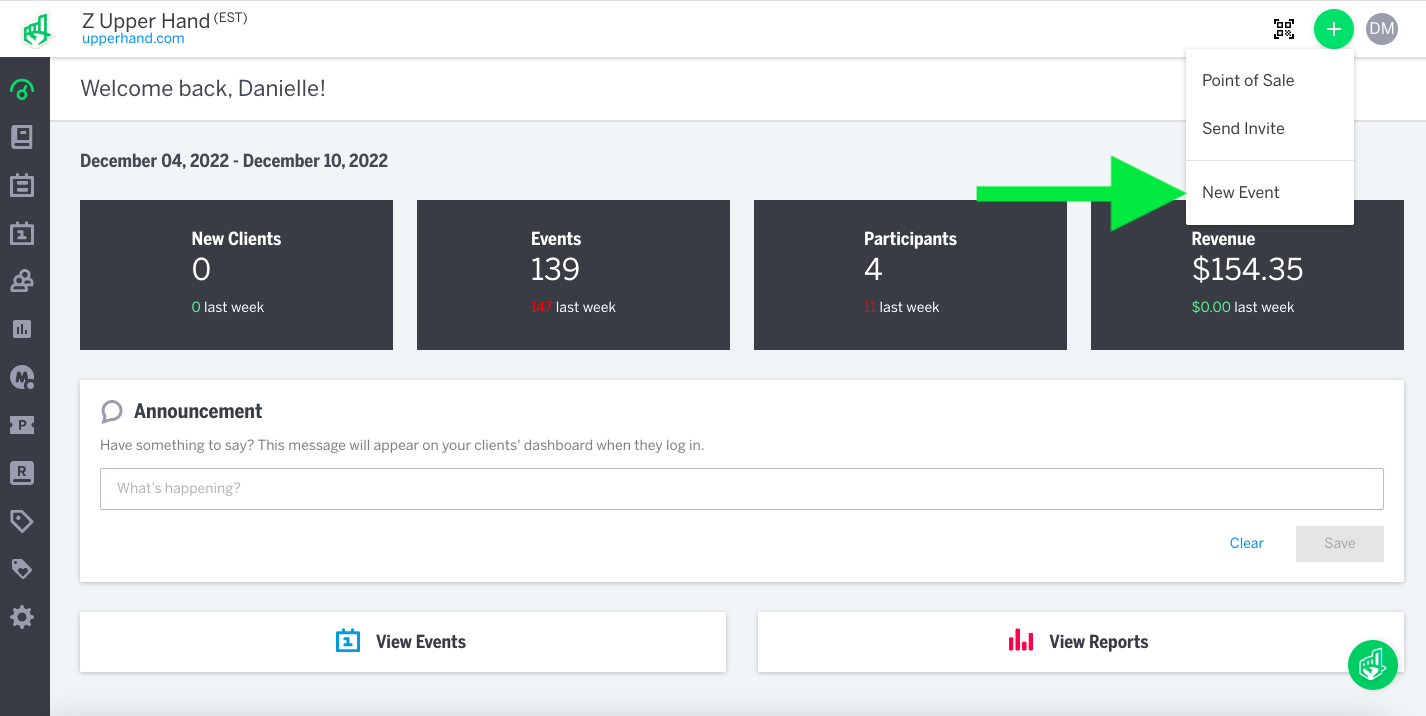
- Select the Green + Button in the Upper-right hand corner of the top navigation bar.
- Select New Event from drop-down menu.
- Depending on the type of event registration you are creating, you will either select the Open Booking, Fixed Schedule option (Learn about Classes!).
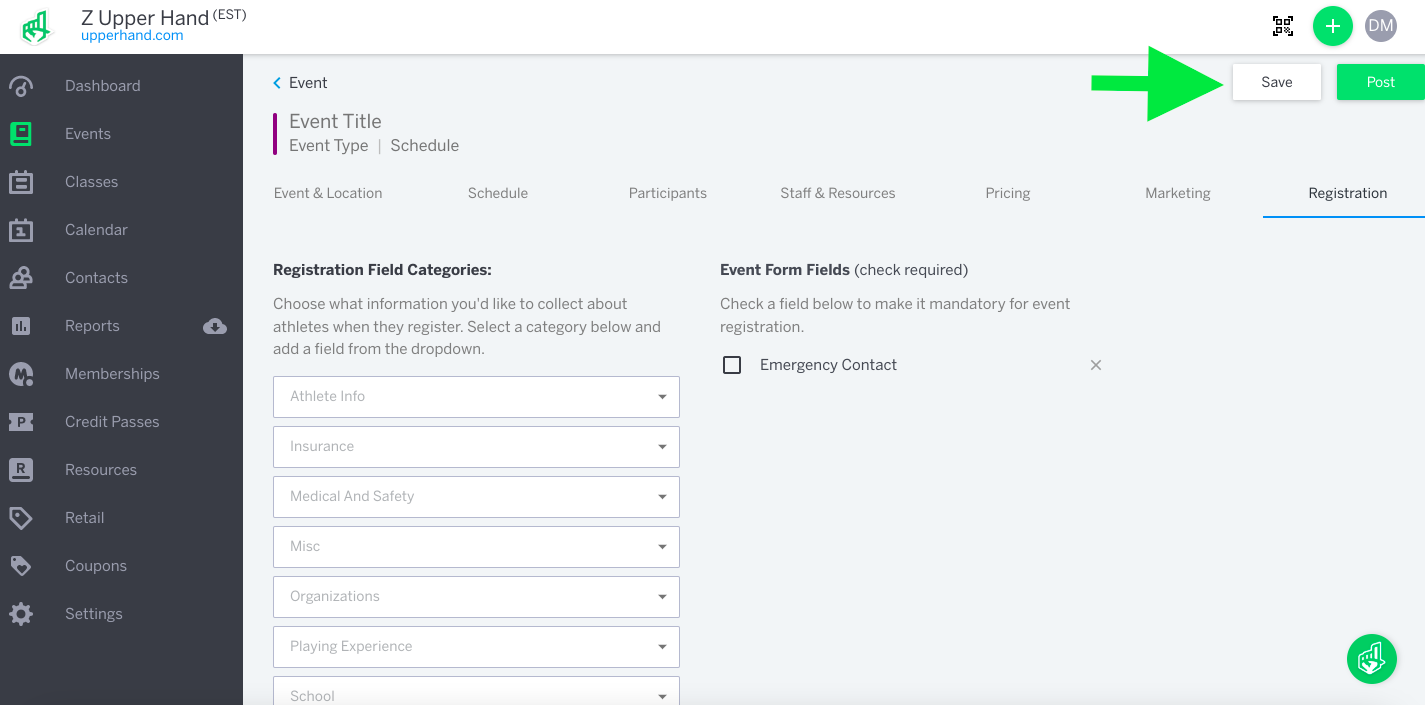
- Complete 7 tabs of the event information to fit your business needs/preferences.
- Click the Save button to save all changes.
- Click the Post button to update the event status to 'Active' and be open for registration.
Video Walkthrough:
Tactical Rundown:
Step 1 - Select the green (+) button in the upper-righthand corner and select New Event.
Step 2 - Tab through the 7 tabs at the top to create new event registration details.
Step 3 - Click the Save button to save all changes. Click the Post button to make your event Active and open for registration.