
APPLIES TO: Admin
Last updated: July 1, 2024
Quick Links:
Create a Membership
- Log in to your account, hover over the main navigation tab on the left, click Memberships
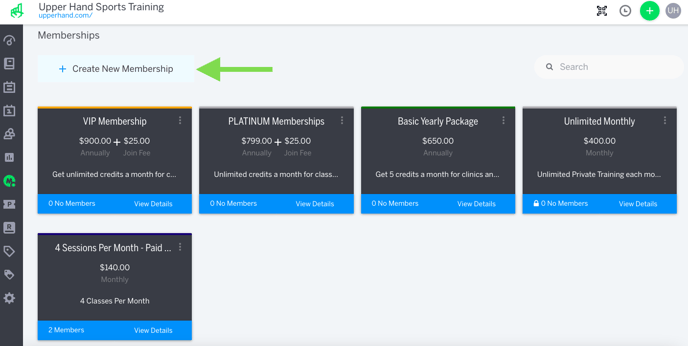
- Click + Create New Membership
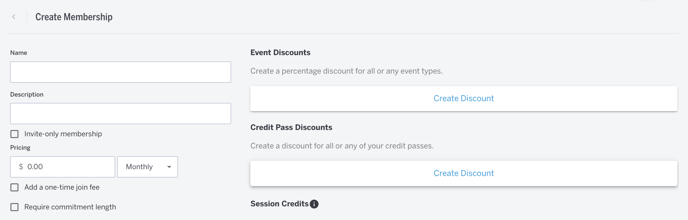
- Enter the Name you want to give this membership.
- Note: this will be the name your clients see when shopping for a membership.
- Enter all of the information you want your clients to know about this membership in the Description.
- Note: both Name and Description fields are mandatory.
- Optional: You are able to make this membership private by turning on the Invite-only membership feature. If a membership is private, your clients will not be able to see it during checkout unless you send them the membership's URL. This works the same way private events do.
- Optional: Select Hide In Client Checkout.
- Note: this will make it so that no clients can enroll in this membership and it can only be sold via Point of Sale.
- Price: This is where you can set the price of the membership. You also can decide if your clients should be charged Monthly, Quarterly, Yearly, or Once.
- Note: the Once option is a single lifetime charge for this membership.
- Optional (Coming Soon): Tiered Pricing: This feature will allow you to create multiple pricing options for a single membership.
- Optional: One-time join fee. This is a fee that will be added onto the price at checkout. Your clients will only be charged the join fee at the initial. purchase of the membership.
- Optional: Require commitment length this will lock your members into this membership for a period of 3, 6, or 12 months.
- Optional: set the membership to automatically cancel at the end of the selected commitment length
- Optional: Allow Pre-Sale you can turn on which allows you to select a date that you would like all early sign-ups to be charged.
- Note: once your clients enroll in a membership, they will start receiving membership benefits even if presale is turned on.
- Choose Badge Color choose the color that you would like to assign this specific membership.
- Note: this icon color will appear next to your client's name after they enroll in the membership.
- Select Create
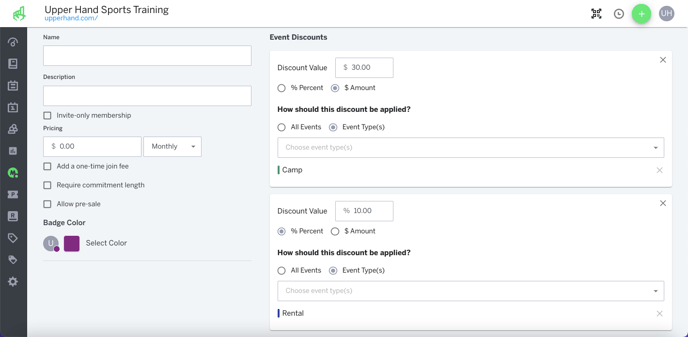
Create Event Discounts Within a Membership
- Click Create Discount underneath Event Discounts on the right hand side to create a discount for all or any event types.
- You have the ability to add a percent or dollar amount discount, input the discount value that you would like these members to receive.
- Choose what event types you'd like these discounts to apply to.
- Note: You can create multiple different discounts for different event types by selecting " + Additional Discount".
Create Credit Pass Discount within a Membership
- Navigate to the membership page, and select "Create New Membership." Notice the "Credit Pass Discount" section, click "Create Discount"
- Adjust the percent discount or dollar amount off. Select "Credit Passes" under the "How Should This Discount be Applied?"

- Select which Credit Pass that should be discount upon membership purchase
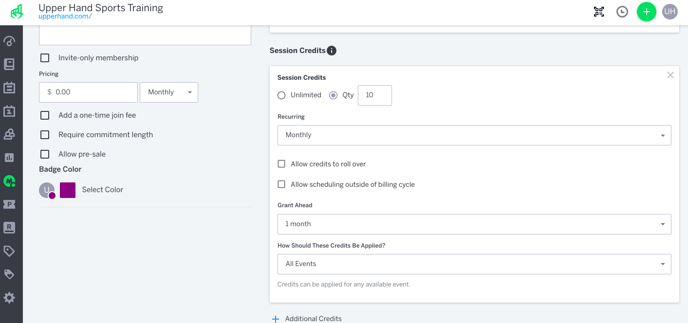
Create Session Credits within a Membership
- Click Create Session Credits on the right hand side
- Next, you can set the number of credits you would like to provide members on a Daily, Weekly, Monthly, or Yearly basis. You also have the ability to provide Unlimited credits.
- Note: Unused credits will expire at the end of the billing cycle unless the Allow credits to roll over feature has been selected.
- By default, clients must schedule and use their credits prior to their next billing cycle. To allow credits to be scheduled beyond their billing cycle, you have the ability to Grant Ahead credits.
- You have the option to grant credits 1 week, 2 weeks, 3 weeks, 1 month, 2 months, or 3 months ahead of the client's next billing cycle.
- After the quantity of credits has been determine, you will need to decide on how they will be applied. You can have the credits apply to All Events, Event Type(s), or make them Event Specific.
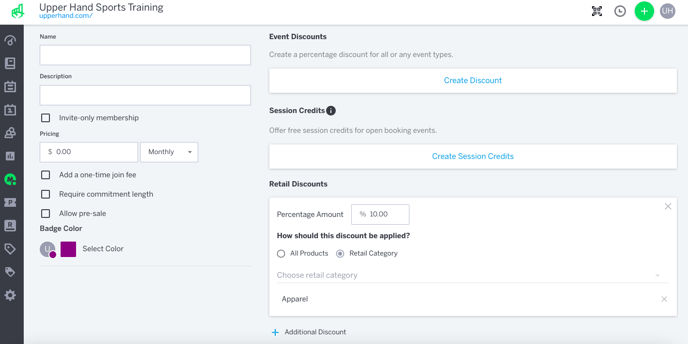
Create Retail Discounts within a Membership
- Click Create Discount under Retail Discounts
- Enter your desired Percentage Discount
- Select All Products or Retail Category
- Note: If selected retail category you must select which category you want to have the discount applied to
Create an Exclusive Event Type within a Membership
- Click Define An Exclusive Event Type underneath Exclusive Event Types
- Click the drop down menu and select the event type of your choice
- Note: you can choose more than one event type to be exclusive
Make sure to click Save when you want to save your changes to a membership.