APPLIES TO: Admins
Last updated: June 4, 2024
Open booking events are great for client scheduling for such things as Private Lessons, an Athlete Training Program, Group Lessons, & Rentals easily by creating open scheduling options in Open Booking Events. Clients will be able to pay per time slot or purchase session packages in the Pricing tab or using Credit Passes.
Quick Menu
Create Open Booking Event - Step-By-Step Guide
Step 1 - Select the green (+) button in the upper-righthand corner of the top navigational bar and select New Event from the drop-down menu.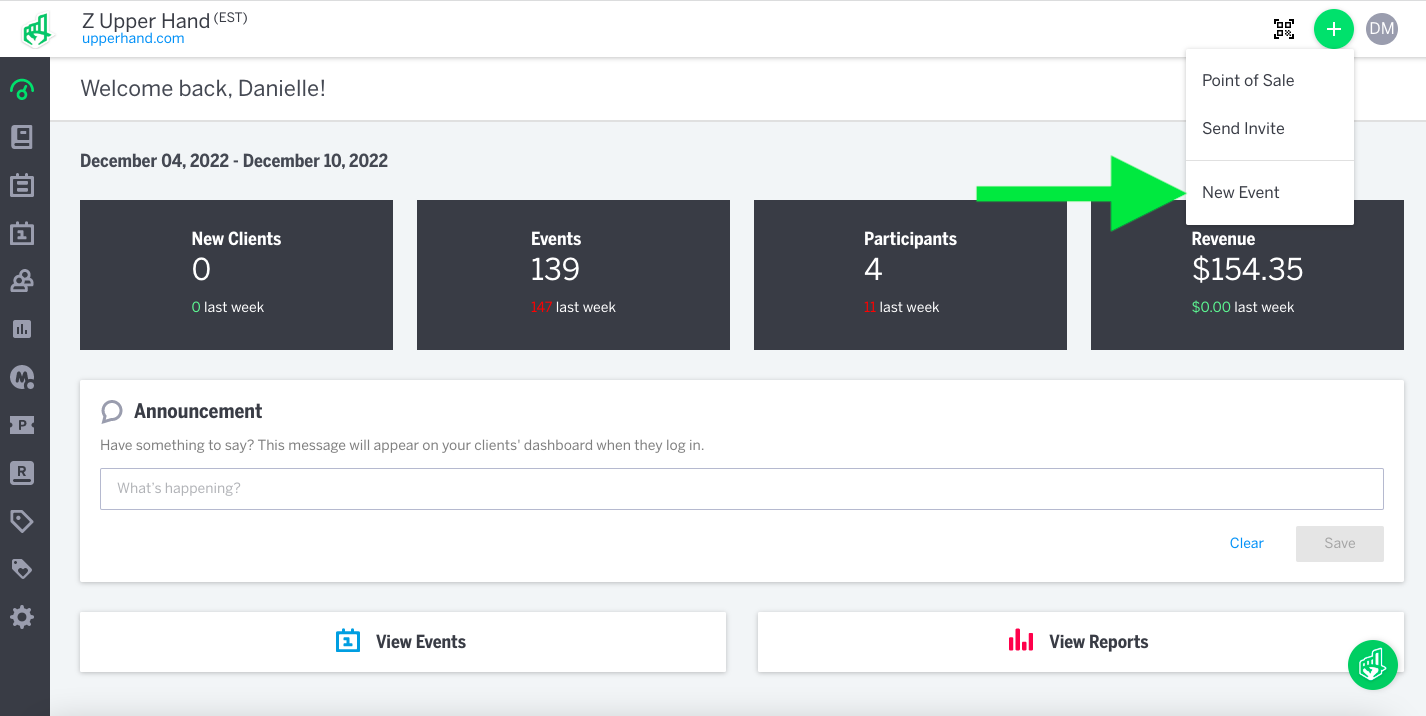
Step 2 - Select the Open Booking option under the Event & Location tab

Step 3 - Use the 7 navigation tabs at the top to create new event registration details
Event & Location Tab
- Event Title : Add a title to the event.
- Note: Events differentiated by price or session duration will need to be created as new and separate events
- Event Type : Categories meant to help organize all of events and will make it easier for clients to browse events by filtering by Event Type.
- Tip: Event Types come in handy for your clients to use as filters while browsing events.
- Location : Set the location for your event. Helpful for anyone utilize multiple locations.
- Note: Clients will be unable to view private events unless you share the event URL with them.
- Focus: Enter in what this type of event will focus on. Helpful for clients to narrow down if they want a dribbling vs shooting lesson
- Note: You can default this to "other" but this will appear as a filter option on your clients browse events
- Buyer Limit: This will allow you to control how many times a client can purchase the event
- Note: leaving this blank then the limit will be unlimited
- Private Event: To hide an event from being registered by the general public, toggle Private Event to on.
Schedule Tab
- Start Date : The first day that you are opening registration for the event
- Note: If the start date is missing, the event will not populate an active schedule.
- Weekly Availability : Select all days of the week that the event is open for scheduling. These days will highlight in blue on the calendar.
- Session Duration - Set the duration of the each time slot. (i.e. 30 min or 60 min session)
- Daily Time - Set time frames for when the session is open for registration
Note: Select Day Specific if one day time frame is different from another. - Date-Specific Time: Set the timeframe for a specific date that won't affect the general time
- Blackout Dates: Set event Blackout Dates for days meant to be unavailable for scheduling.
- Scheduling Deadline: Restricts scheduling based on a set amount of time before a session begins. This is not a required field, but select the box to customize Scheduling Deadline by the number of minutes, hours, or days before the session begins.
Note: This is set for client limitations. Staff/Admin have the ability to override this setting. - Scheduling Interval: Choose how often people are able to book sessions between the set Daily Time. Give clients the option to book every 15 min, 30 min, or 60 min.
- Scheduling Time frame: The scheduling time frame sets restrictions on how far in advance clients can book. See notes below:
-
- Admins and staff can override this setting via Point of Sale and Quick Schedule
- If a 1 day scheduling time frame is set they will only be able to book for tomorrow
- The time frame that's set is always based off of the day that you are currently in when the setting is input. Ex. A 2 week time frame set on March 29 would allow bookings between 3/29 - 4/12.
-
- Cancellation Deadline: Limit the amount of time a client has before the start of a session to cancel. This is not a required field, but select the box to customize Cancellation deadline by minutes or hours.
Participants Tab
- Event Size: Set the maximum amount of participants per session.
- Gender: Ability to select which gender the event applies to (Coed, Male, or Female), not a required field.
- Age: Set the minimum and maximum participant ages
- Date of Birth: Set a date of birth range that a client must be before, after, or in between in order to sign up for the event
- Note: The Age and Date of Birth fields will restrict registration for those who do not fall into the preferred ranges and you cannot use both fields at the same time.
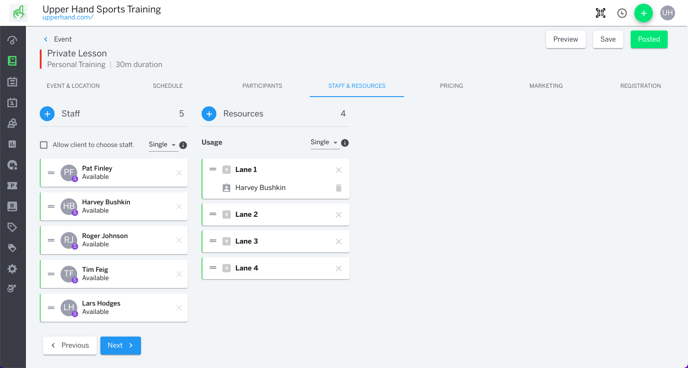
Staff & Resources Tab
- Staff: Click the blue (+) button to select available staff members.
- To combine all listed Staff together per session, keep the drop-down set to All.
- Changing the drop-down to Single would schedule a single staff member per session based on the listed priority order but clients would not have the ability to choose the staff member when scheduling.
- If you select Allow client to choose staff, your clients will be able to select their preferred instructor from a drop-down menu.
- Resources: Click the blue (+) to add all individual Resources for this event.
- To combine all listed Resources together per session, change the Usage drop-down arrow from Single to All. Keep the Usage default setting is Single to keep listed Resources as individual options.
-
- Note: The Resources will be scheduled based on listed order and should be listed based on priority. Clients do not have the ability to choose a Resource when scheduling.
Pricing Tab
- List Price: Type in price per session.
Note: The default List Price allows for the purchase of 1-20 session credits. - Free Event: Allows the event to be priced completely free.
- Processing Fee: Provides an estimated total of earnings after processing fees are deducted. Disclaimer: This is an only an estimated total based on the standard processing fee. If processing fees are different, this calculation will not be accurate.
- Package Pricing: Click the 'Add Automation' button to create package pricing options. Set the quantity and pricing of each package option.
Note: Option Name is the backend name of the package. Cart Description is what the client sees in the cart checkout. - Payment Methods: Select which payment methods your clients can choose during checkout (Card and Pay Later)
Note: This will override the default ones set in Business Settings.
Marketing Tab
- Event Description: The event description will be shown on the event page to give clients an in-depth understanding of what the event offers.
- Event Image: Add an image that best represents your event
Note: Images must be smaller than 3 megabytes and cannot be in a .pdf format. - Event URL: Every event will generate a custom URL Link that can be copied from the Marketing tab.
Tip: Useful for Private Events to give specific access for registration.
Registration Tab
The registration section allows you to choose what information you would like to collect about athletes when they register for an event.
- Choose a Registration Field Category.
- Click the drop down underneath the category to see all options.
- After selecting a field, it will appear on the right side of the screen.
- To make a field required, click the check box next to the field, beneath the “Event Form Fields”, and your clients will be unable to checkout without first filling out this information.
Tip: Client contact information will be collected during account creation and can be viewed using Client Profiles; general contact information is not necessary for Registration fields - Learn now to create custom registration fields here
Step 4: Click the Save button to save all changes. Click the Post button to make your event Active and open for registration.
Tip: Be sure to click Save anytime you make changes or updates to your events, even after posting.